Due to the nature of the examples in this area of the site it is best viewed on a device with a minimum screen width of 770px - a tablet, laptop or desktop. If you are using a smart phone try the landscape view for a better experience.
Adding images to your Auto Restoration Facility website
Having completed the steps in the previous tutorial you can be confident that the images you have are not going to kill your SEO. I'm going to show you how to upload the 'header' image on to your website.
Having completed the steps in the previous tutorial you can be confident that the images you have are not going to kill your SEO. I'm going to show you how to upload the 'header' image on to your website.
After that you will be able to add/change other images on your website pages and start making the website look more like your website.
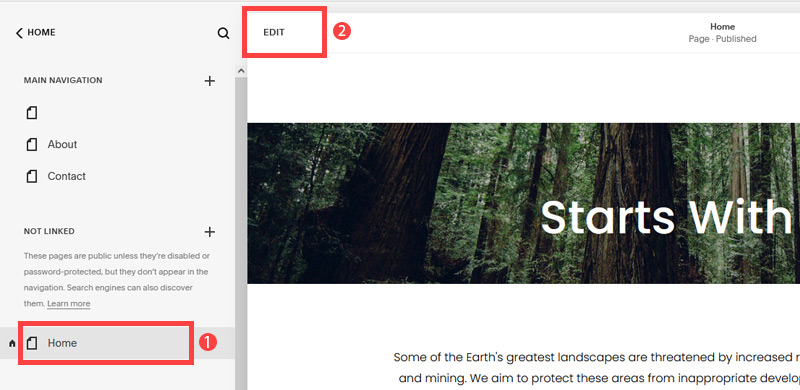
- Click Pages
- Click on 'Home' then click 'Edit'.
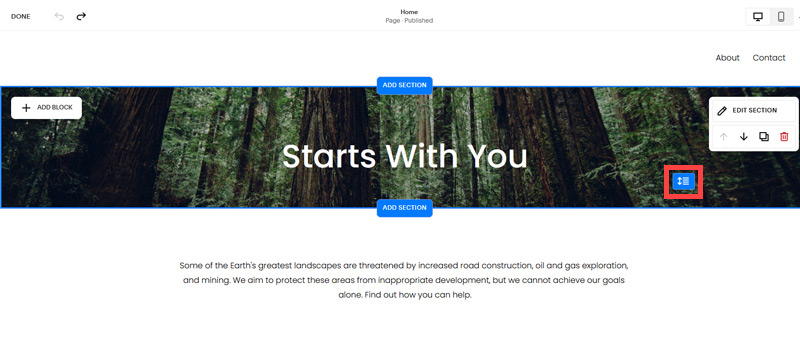
- Press on the blue icon in the image, drag it down to increase the image height.
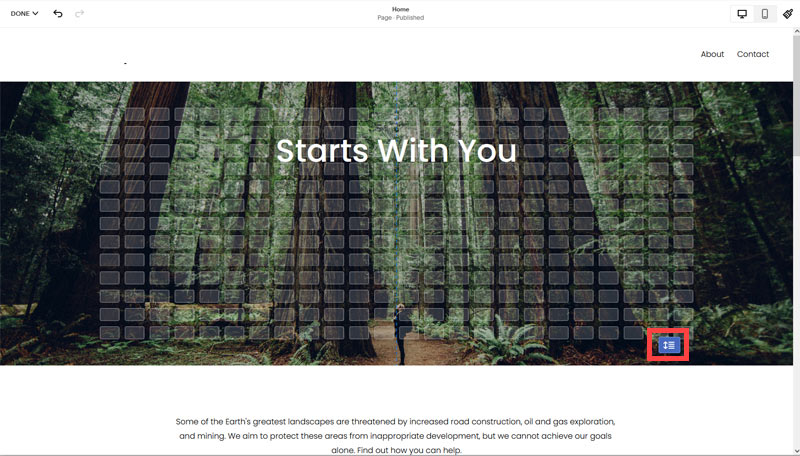
- Increase the image height so it looks roughly like this:
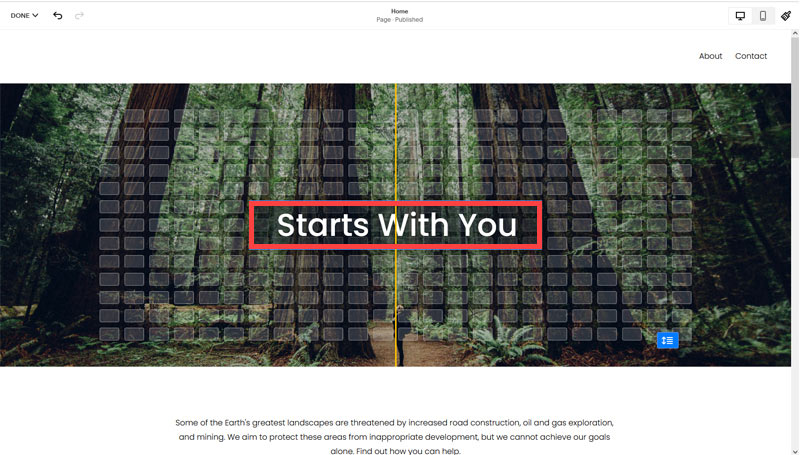
- Drag the 'text' in the middle of the image to the center both vertically and horizontally.
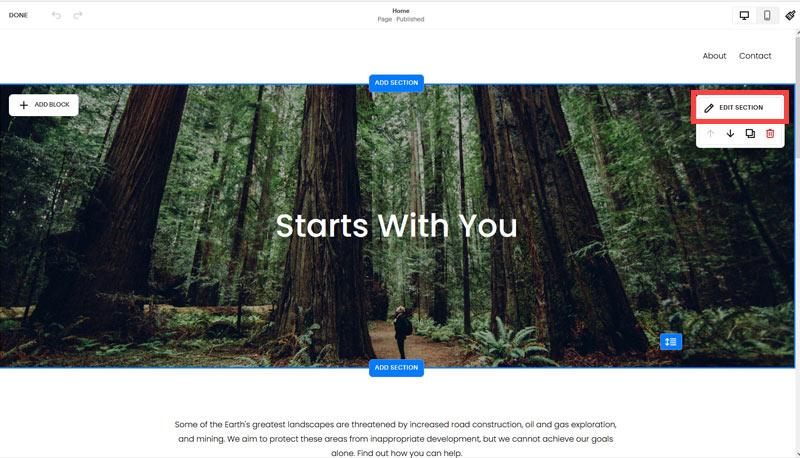
- Next, Click on the banner image and then click 'EDIT SECTION'.
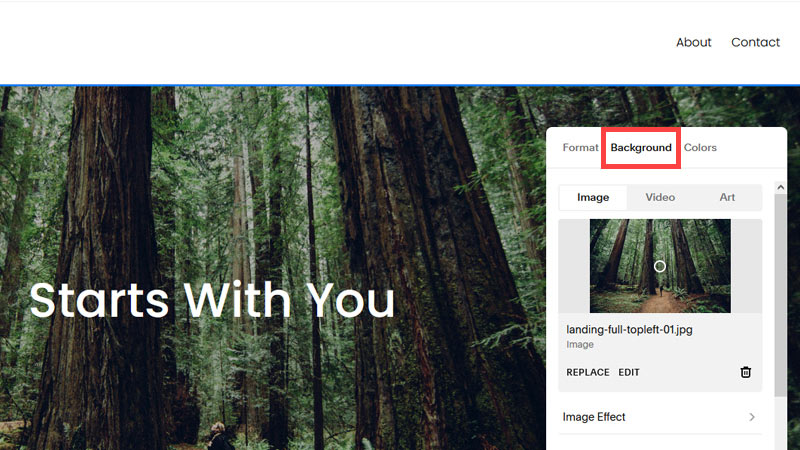
- Click Background.
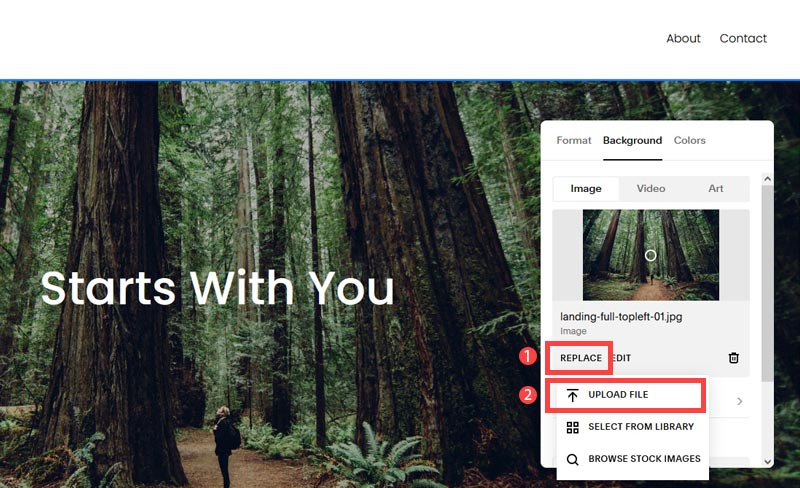
- Click Replace. After that click Upload File.
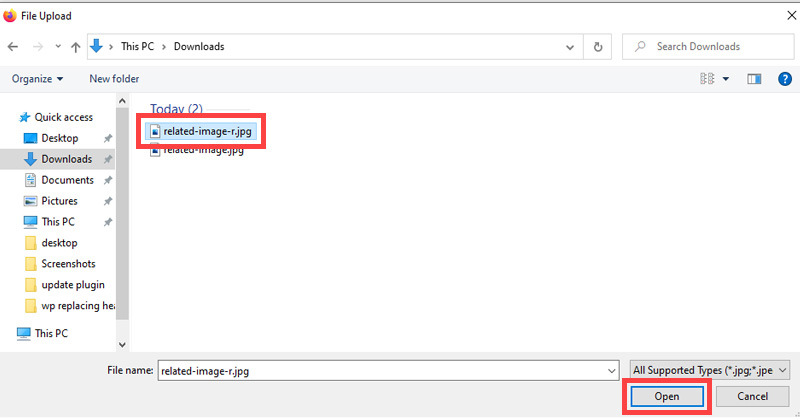
- Navigate and click on the image on your computer which was compressed then, click on 'Open'.
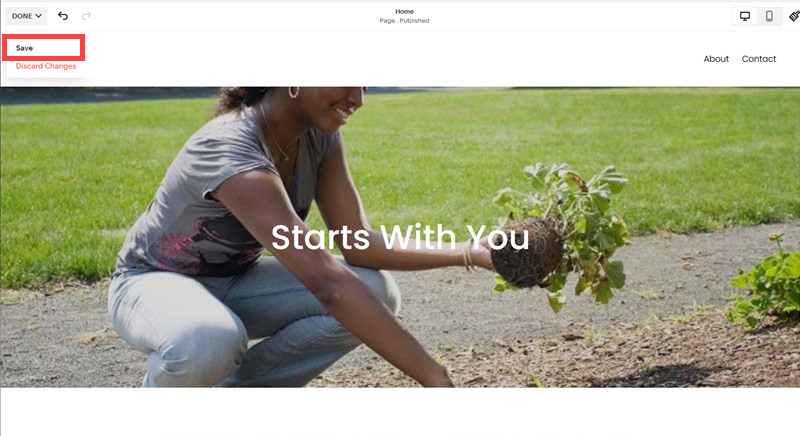
- To save the changes, click 'Save'.
In WordPress the steps are as follow:
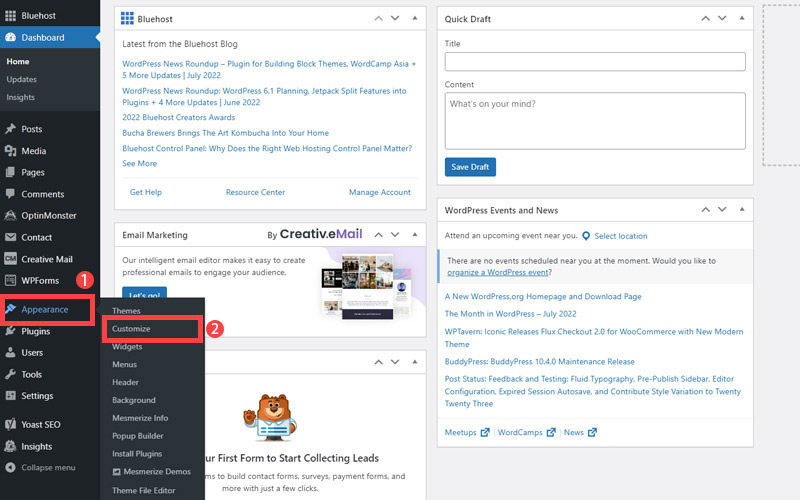
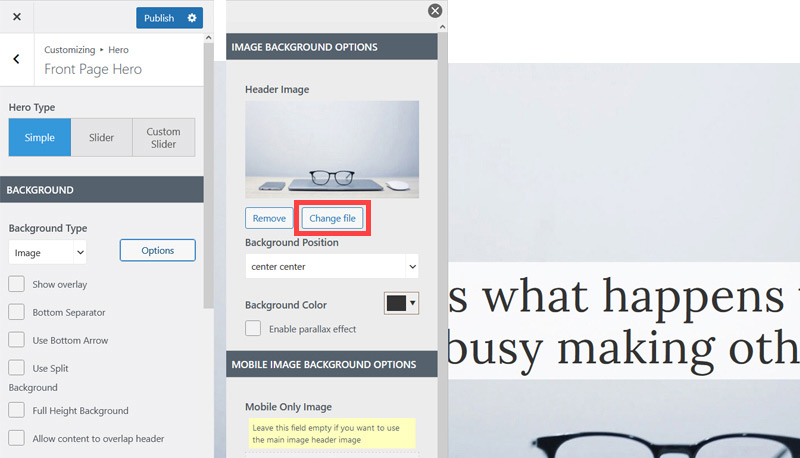
- In the WordPress Admin, hover over 'Appearance' and click 'Customize'.
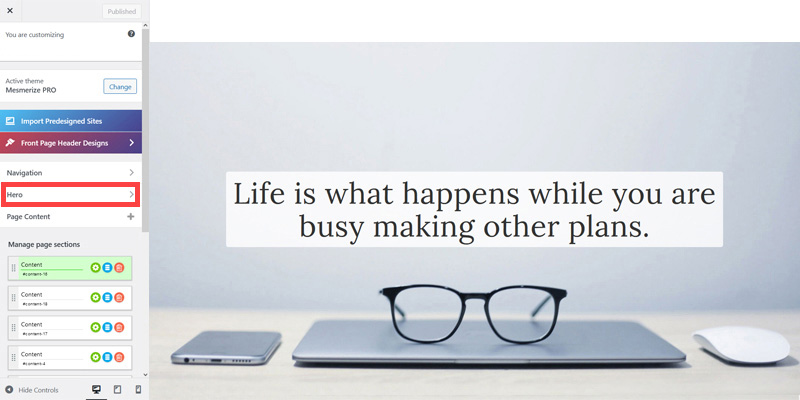
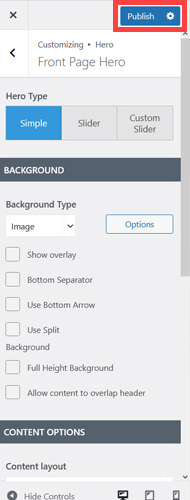
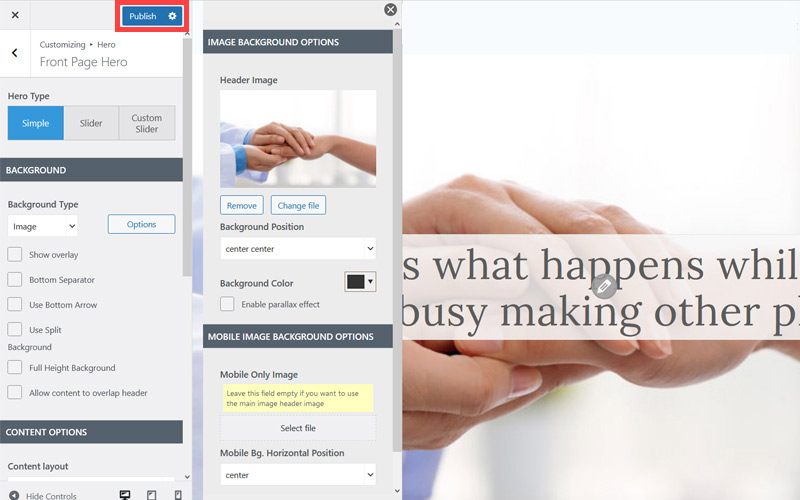
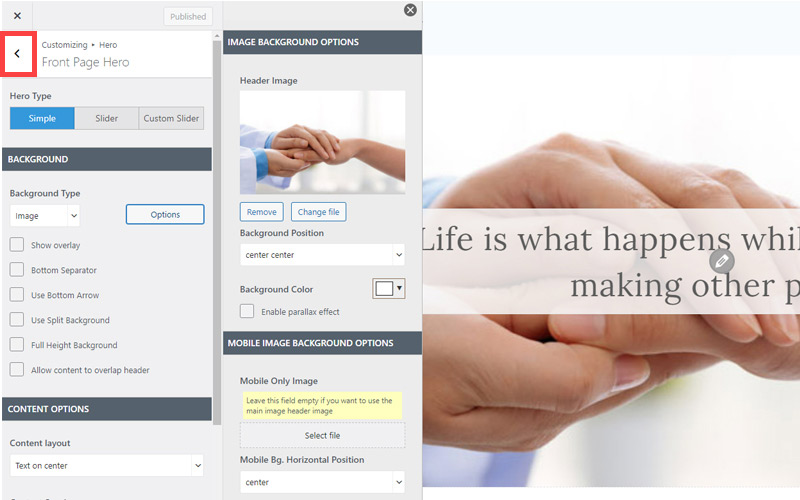
- Then, click Hero > Front Page Hero.
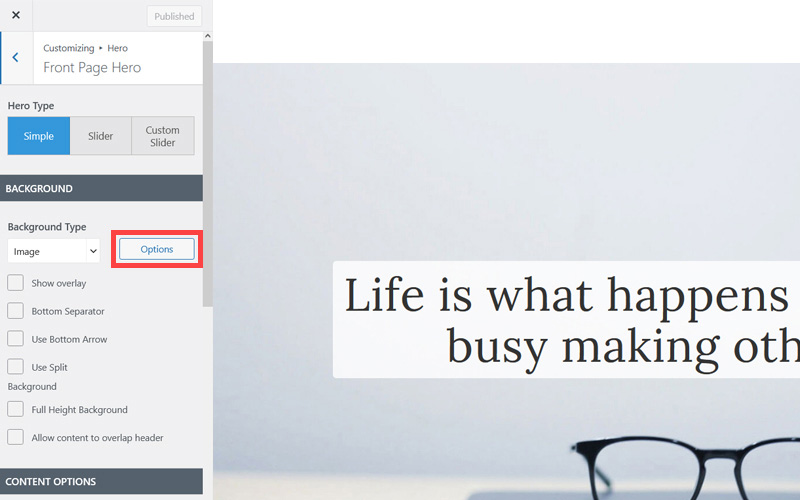
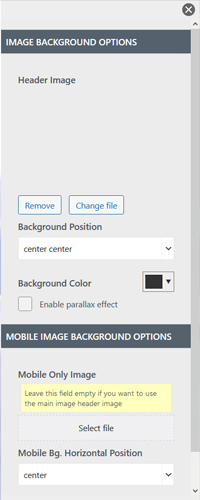
- Below the 'BACKGROUND' heading, click 'Options'.
- Click 'Change file'
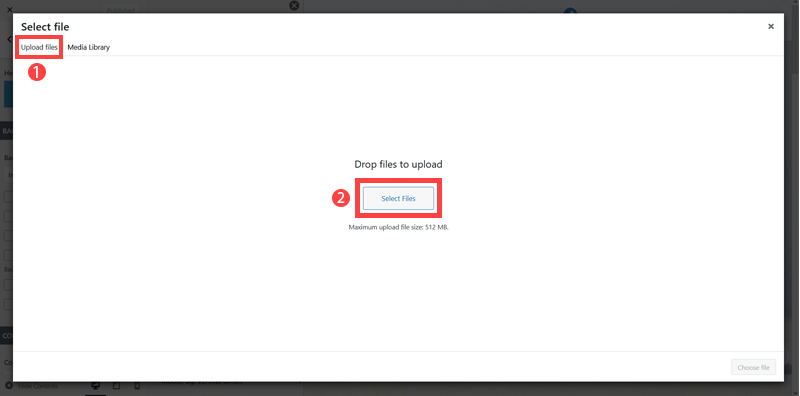
- Click 'Upload file' and click 'Seclect files' button
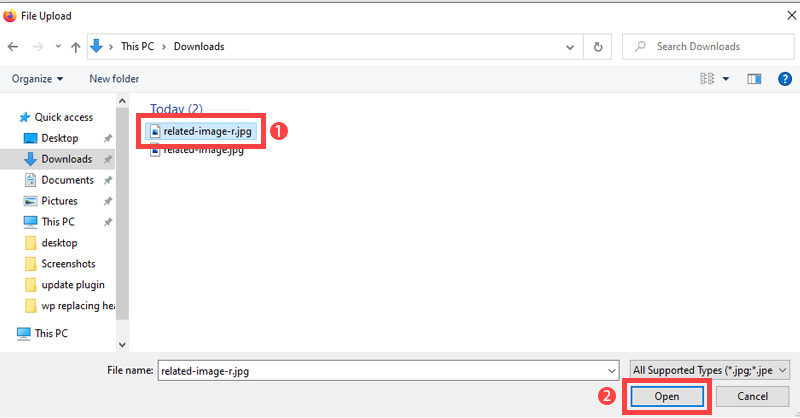
- Here, navigate to wherever you stored your images on your computer. Then select the image and click 'Open'.
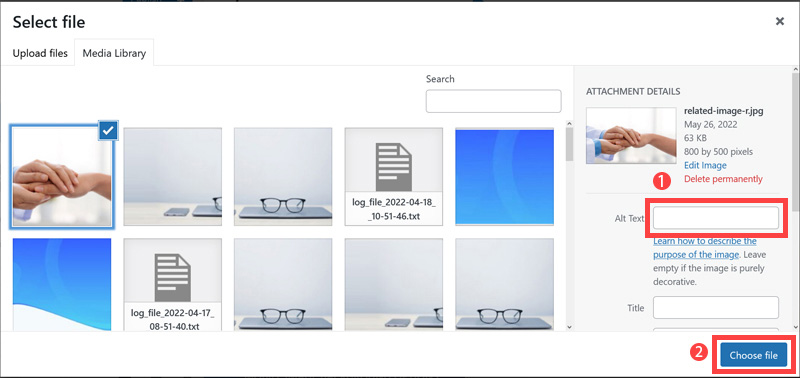
- For now ignore the 'Alt Text' box (1) - we'll discuss alt text later in the course. Just click 'Choose file' button.
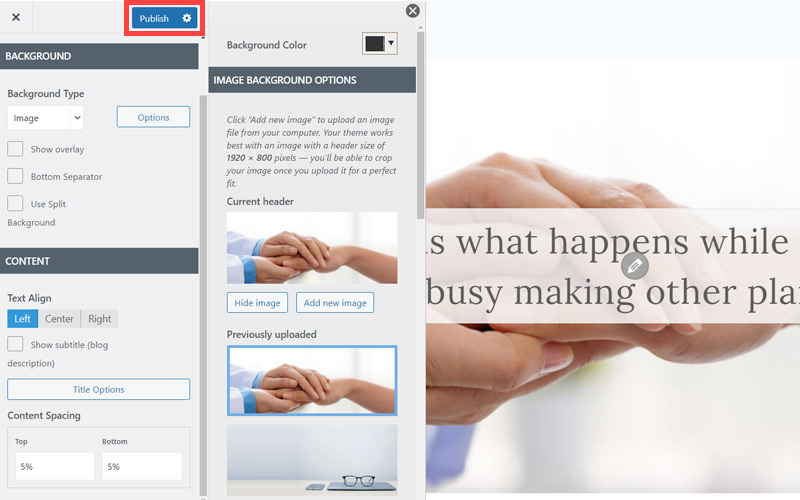
- Click 'Publish' to save the changes.
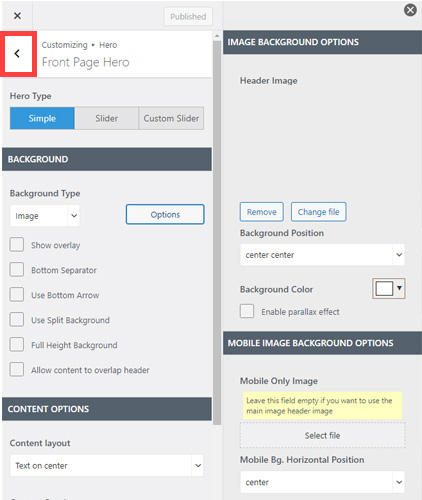
- Click the 'left arrow icon'.
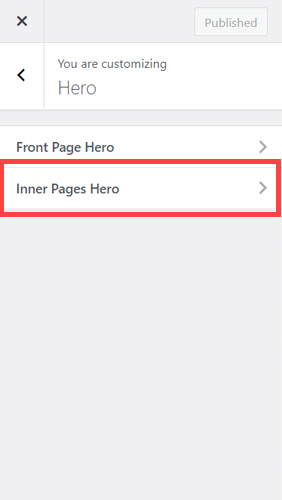
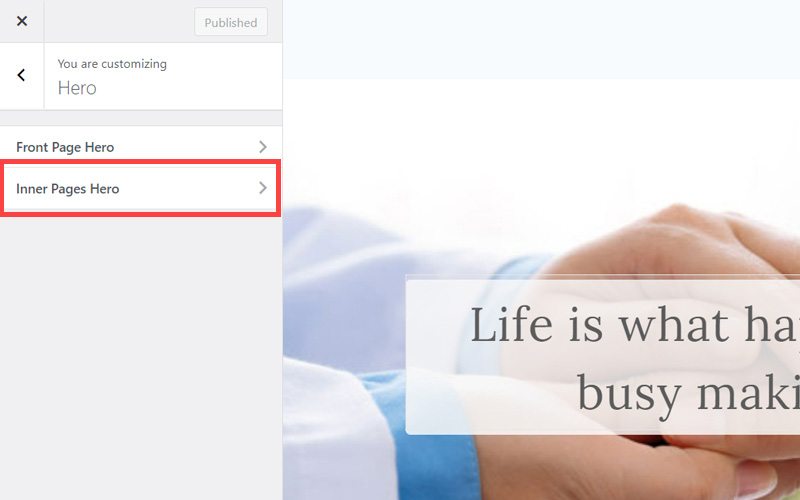
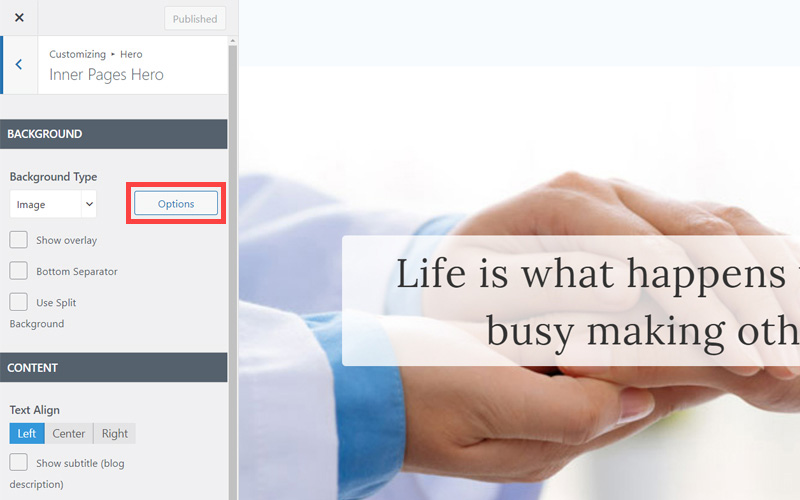
- Click 'Inner Page Hero'.
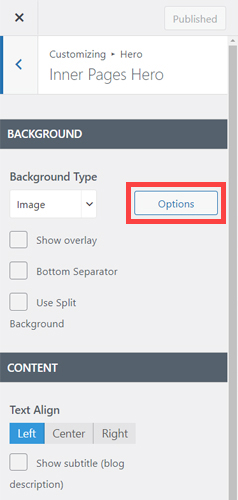
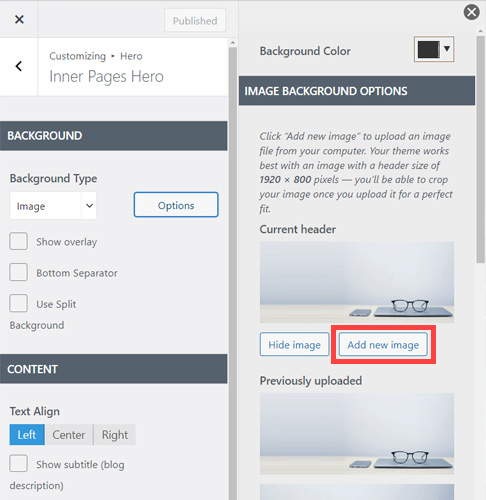
- In the backgournd section, click 'Options'.
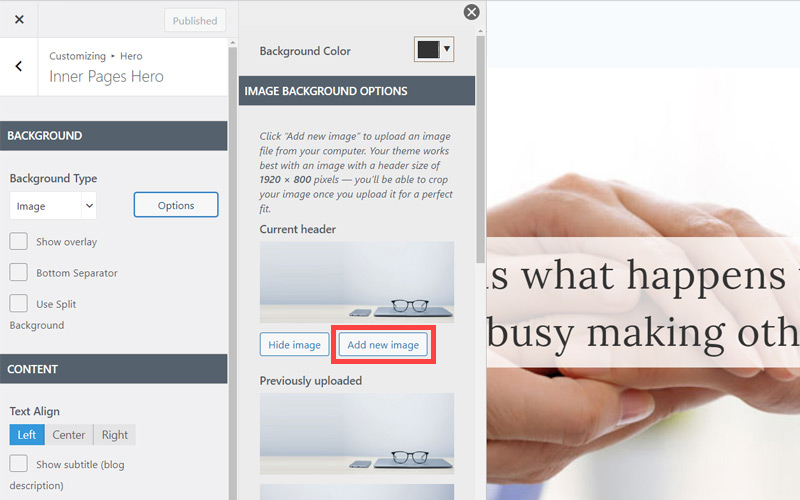
- Here, add the image as you did with 'Front Page Hero' background image. Just Click 'Add new image' button and upload the image.
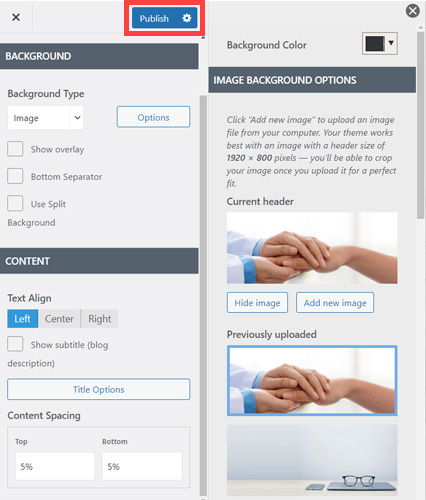
- Click the 'Publish' button
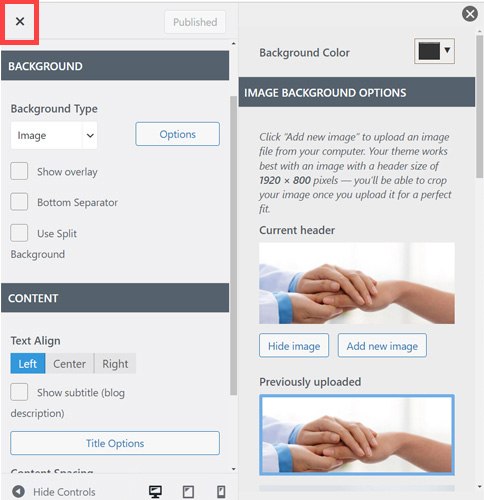
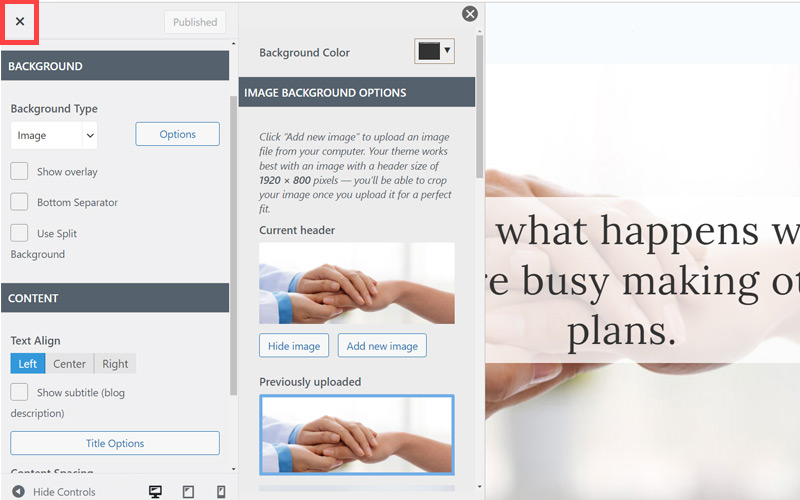
- Click 'close' icon in the top left to go back to the WordPress Dashboard.
So that's a basic website set up. You now have:
- A secure website that loads pages fast and works 24/7/365
- A basic structure of 4 key pages
- The know how to source, prepare and upload images in a way that won't slow down page loading
In the next section we'll look at how to edit or add key elements to each page in a way that Google and Bing will love.
In this section:
- The Best Domain Names for Auto Restoration Facility websites
- Top Level Website Requirements for SEO
- Squarespace for Auto Restoration Facility websites
- WordPress and BlueHost for Auto Restoration Facility websites
- Squarespace or WordPress for your Auto Restoration Facility Website
- SquareSpace Set Up Basics for Auto Restoration Facilities
- WordPress Set Up Basics for Auto Restoration Facilities
- SEO Friendly Website Structuring for Auto Restoration Facilities
- Creating an SEO Friendly Structure for an Auto Restoration Facility website in SquareSpace
- Creating an SEO Friendly Structure for an Auto Restoration Facility website in WordPress
- Choosing images for your Auto Restoration Facility website
- Stock photos for Auto Restoration Facilities websites
- Optimizing images before loading to your website
- Adding images to your Auto Restoration Facility website

